Instructions for kinesiology tape for patella pain
Products used in this manual


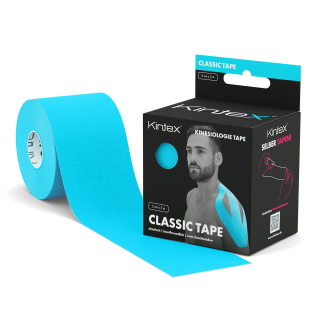
Kintex Classic Tape 5 cm Blue
5 cm x 5 m | Free color choice
Our kinesiology tapes are often used for sports injuries or in physiotherapy. They are used to support and stabilize muscles, fascia, ligaments or Joints.


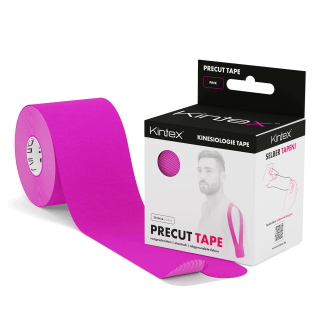
Kintex Precut Tape Pink
20 pre-cut tapes (á 25 cm x 5 cm) | free choice of color
Our Kintex PreCut Tape is already pre-cut and can be applied immediately without scissors. The tapes can be applied as I and Y strips.


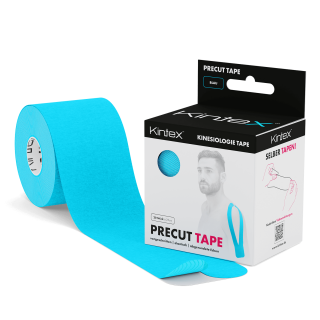
Kintex Precut Tape Blue
20 pre-cut tapes (á 25 cm x 5 cm) | free choice of color
Our Kintex PreCut Tape is already pre-cut and can be applied immediately without scissors. The tapes can be applied as I and Y strips.
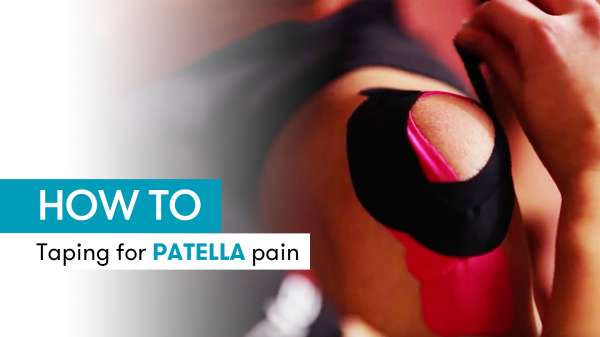
For this tape application you need a tape strip in the shape of a Y and a strip in the shape of an I, which should be a little shorter. For this you can either use our Kintex Classic Tape and cut the strips yourself or you can use our Kintex PreCut Tape and tear the tape strips accordingly. When cutting the tape, make sure that you round off the corners, this will increase the adhesion of the tape.
Preparation and application of Kintex Kinesiology Tape
To ensure better adhesion, you should first remove all oils, creams and hair from the affected area and also clean it with alcohol.
Peel off the backing paper of the Y strip at the base, position the knee at about 80° and locate the patellar tendon directly at the beginning of the kneecap. Be sure to tape the base below this point so that the base of the Y starts right on the patellar tendon. This placement is very important in order to treat the patella pain appropriately. Place the base without any additional stretch and rub the tape well. Tape the right of the two Y reins around the patella with maximum counterclockwise tension and then rub the tape on. Tape the left rein clockwise around the kneecap and rub it well. Tape both ends without pulling. Tear the second tape in the shape of an I in the middle of the backing paper and place it over the patellar tendon with maximum tension. Then smooth out both ends without pulling. Finally, spread the entire tape from the inside out to activate the adhesive and increase the adhesion of the tape. To check, you can extend the knee and see if there is any rippling on the tape.
Instructions for the use of Kintex kinesiology tape.
Kintex Tape should be left on for approximately 1 week, with the main effect expected in the first 3-5 days after application. You can shower, bathe, swim or do sports with the tape applied. Even sweating is possible under the tape.
ATTENTION: Please note that our articles as well as these instructions cannot replace the contacts with doctors and physiotherapists that may be necessary. Our products are not intended to replace professional advice, examinations, treatments, diagnoses, etc. by professionals, but only to support them. If you experience itching under the tape application, remove the tape immediately and consult a doctor or pharmacist if in doubt.
NOTE: The effect of kinesiology tapes is not scientifically proven, our statements are based on our years of experience.
- General notes
- Neck and shoulder
- Back and chest
- Arms and fingers
- Belly and buttocks
- Legs and knees
- Foot and ankle
- Scars

Exclusive advantages
for K-Club Members
- Get 5 EUR welcome voucher*
- free shipping without minimum order value
- free return shipping without minimum order value
- The membership corresponds to your customer account on kintex.de
- Cancelable at any time
the voucher of 5 EUR is automatically deducted at checkout.
Newsletter
Secure yourself
exclusive advantages
exclusive advantages
